

DOM is one of many important concepts in the world of Web development and JavaScript(JS). Let us try to explore DOM and selectors a bit.
What is DOM?
DOM is a structured representation of HTML document and JavaScript(JS) can be used to manipulate or edit it. DOM is like a tree of nodes created by the browser. Previously jQuery was used to it, now vanillaJS has taken over. We will try to understand DOM using simple JS. For this, we have to create an HTML document and a JS script where we can put in various methods and try them. Make sure the HTML file has head, main, title, and various other basic elements. Assume the name of the file I created was index.html and main.js
Let's get Started!
Open the JS and the HTML file in VSCode or any other editor which you prefer. Put this.
console.dir(document);
One can use the . operator to access various properties and methods of an object.
console.dir() is a method that helps us to see all the properties and elements which are associated with an object.
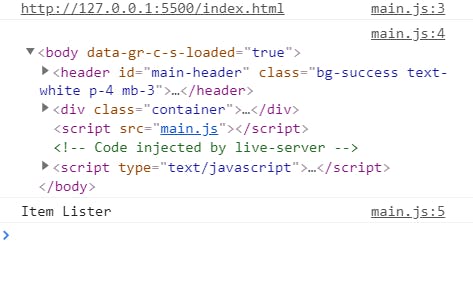
Save and open the HTML Doc in which the JS file is embedded in the browser. Then, open the Dev Console, and you might see something of this sort.
 Here, #document is the object in the yellow highlight and URL, activeElement and so on are various properties and methods which are attached to the HTML page which we are using.
Tip: You can open the Dev console in Google Chrome using Ctrl+Shift+i
How can we check the objects or properties related to the document object?
One can use console.log() method as follows: console.log(object_name.property); Try these in the JS script:
console.log(document.URL);
\\When we pass this method, we get the URL(if any) as output which is associated with the document object.
I tried the below-mentioned code snippet:
console.log(document.activeElement);
\\This one gives the output of various active elements which form the HTML page.
console.log(document.title);
\\This will help us to know the content of the title element of the HTML page.
The output could be seen in the Dev console.
 Here, you can see the various elements of index.html and the contents of the title element
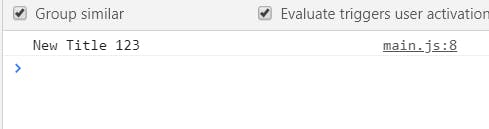
These are not "Read-only", you can also change the properties. For example, I would change the title from Item Lister to "New Title 123".
document.title = "New Title 123";
console.log(document.title);
This will reflect instantly in the Dev console after the changes are saved.
HTML page has many elements and you can see each and every element using document.all. It gives all the elements in an array alike structure.
document.all();
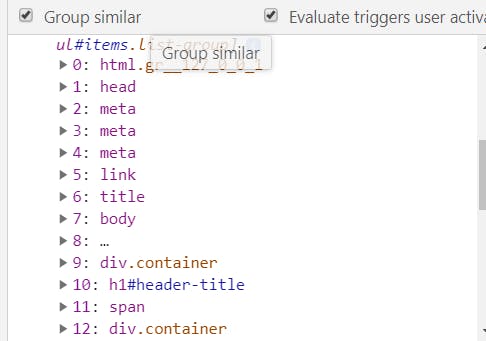
Each element has a number before it. These could be used to access the elements, but this is will not be suggested for use to developers. The reason being, the number assigned might change as one does any change in the code by adding or eliminating at any part of the code.
Let's understand Selectors!
These are selecting queries to select various parts of the HTML element. It helps us to select various parts of the HTML tags which we create. We will try to understand below-mentioned selectors:
- document.getElementById()
- document.getElementByClassName().
Here is a part of HTML snippet:
<!DOCTYPE html>
<html>
<body>
<p id="demo">Click the button to change the text in this paragraph.</p>
<button onclick="myFunction()">Try it</button>
<script>
function myFunction() {
  document.getElementById("demo").innerHTML = "The button is clicked";
}
</script>
</body>
</html>
Here, demo is the ID of the paragraph tag, one can manipulate and play with the <p> tag using the demo ID. The JS function inside the script tag changes the text from "Try it" to "The button is clicked" when the button is clicked. How does JS does so? JS looks for the ID which is passed to getElementById() as a parameter. When it finds an elements with the same ID, it changes the inner HTML text.
#Bonus Learning Difference between innerText and textContent HTML Markup:
<div class="container">
<h1 id="header-title">Item Lister <span style="display:none">123</span></h1>
</div>
JS Code:
console.log(headerTitle.textContent);//displays 123 in the console
console.log(headerTitle.innerText);//this does not displays 123 in the console when the styld is applied.
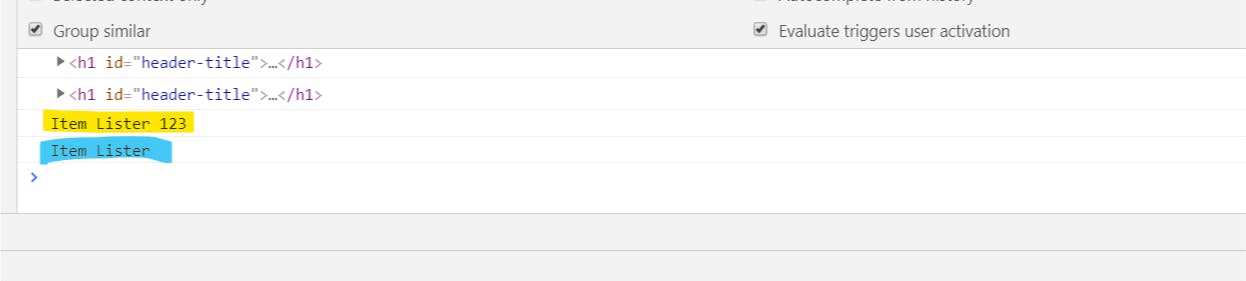 Highlighted in yellow is the output of textContent, and highlighted in blue is the output of innerContent.
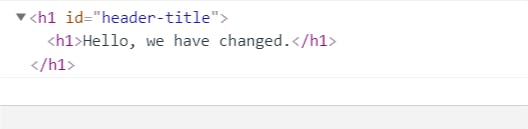
You can, in fact, add to the HTML markup using the ID also. For example,
Highlighted in yellow is the output of textContent, and highlighted in blue is the output of innerContent.
You can, in fact, add to the HTML markup using the ID also. For example,
headerTitle.innerHTML = '<h1>Hello, we have changed.</h1>';
JS to Change CSS properties? Of course.
You can also change the CSS properties using JS, the code is given below for the example.
headerTitle.style.borderBottom = "solid 3px Red";
Notice that, we are using the camel font for the CSS peoperties, we cant use the hyphen here.

Let us understand document.getElementsByClassName()
This is another selector which is used to select various parts of the HTML elements which have a class name defined for it. Here is a part of HTML sample Markup:
<ul id="items" class="list-group">
<li class="list-group-item">Item 1</li>
<li class="list-group-item">Item 2</li>
<li class="list-group-item">Item 3</li>
<li class="list-group-item">Item 4</li>
</ul>
JS Code could be as give below to access the data and see in the Dev console.
var items = document.getElementsByClassName('list-group-item');
console.log(items);
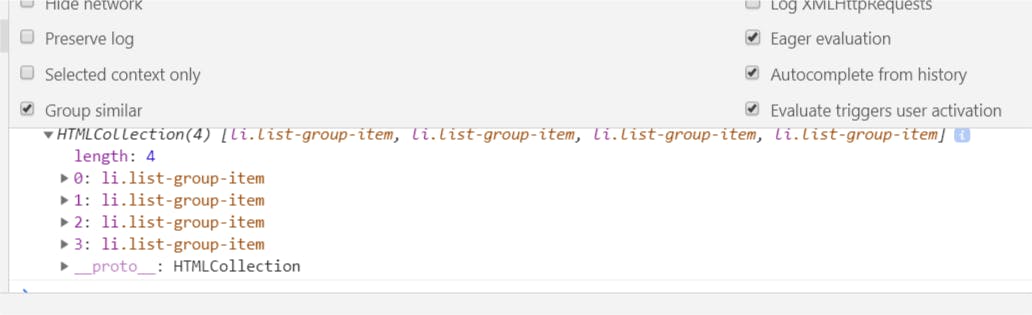 You can see index given before each element. You can use them to access and edit the content inside the elements.
Accessing individual items Try the below code:
//access individual items like we access an array element
var items = document.getElementsByClassName('list-group-item');
console.log(items[0]);
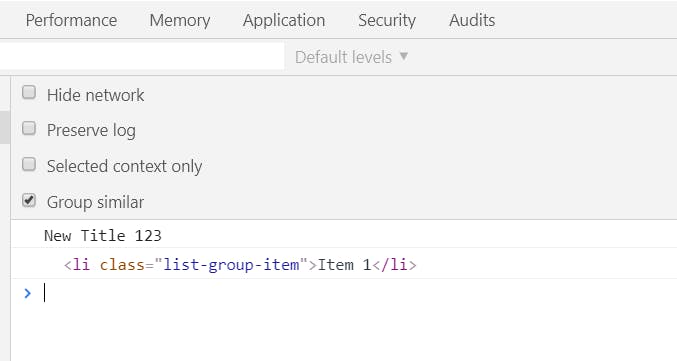 Item at 0 is given as Output
You can use textContent and getElementsByClassName to change the data inside the HTML element.
Try this:
var items = document.getElementsByClassName('list-group-item');
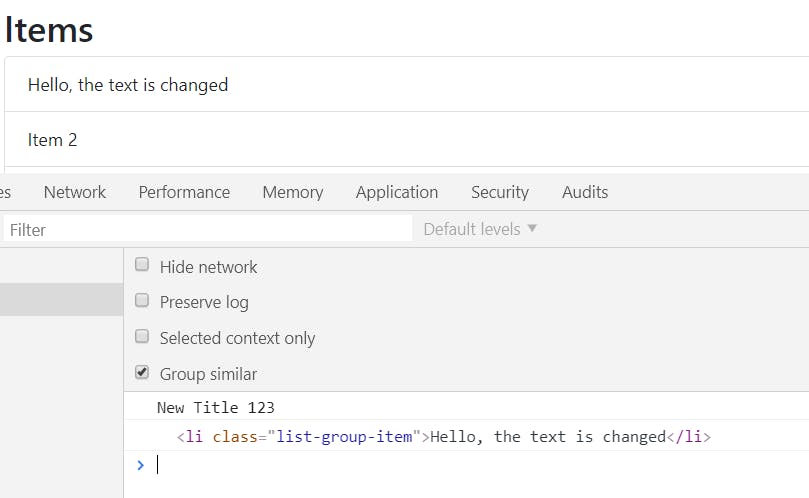
items[0].textContent = "Hello, the text is changed";
console.log(items[0]);
You can see the change inside the HTML element and see the change in the HTML page. The change is also visible in the console.
Summary
After learning HTML, CSS, and JS, it is important to know about DOM. It allows developers to use JavaScript to manipulate, style and structure websites. This was more of a hands-on guide to DOM. You can read the theory and a little more detail about DOM at here. This blog talks explains beautifully about various theoretical aspects of DOM and why should we learn about DOM.